|

|
|
|
|
|
|
Craft Tutorial for Advent and for Christmas - Snowflakes Advent Calendar
|
|
|
|
|
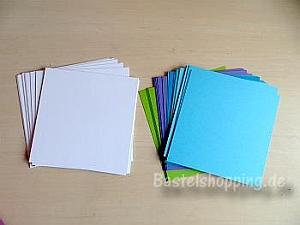
1. First of all, you need 24 white squares measuring 15 centimeters and 24 colorful squares, also measuring 15 centimeters.
|
|
|
|
|
|
|
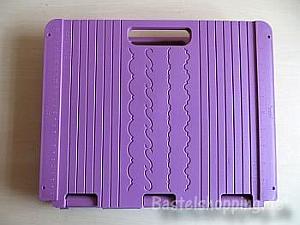
2. Watch the Crafter’s Companion DVD to learn the basics about box making with the Crafter’s Companion Ultimate Pro.
For this project, place your Crafter’s Companion Ultimate Pro on the table to the board for box making. One side is called “Box Lid” and the other side is called “Box Base”. This is important to know and use when creating boxes. Each look the same but do vary a little in the measurements to guarantee that the lid will fit nicely on the base once both parts are made.
|
|
|
|
|
|
|
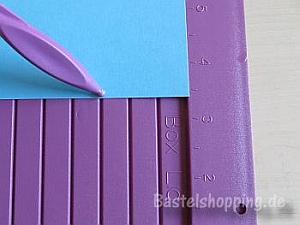
3. First you will be creating the lids. Use the embossing tool that comes with the Ultimate pro to do the embossing. Emboss down the third line of the “Box Lid” side on each side of the square.
|
|
|
|
|
|
|
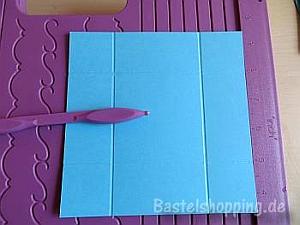
4. This is how the square looks at this point. There is a embossed line down each side of the square.
|
|
|
|
|
|
|
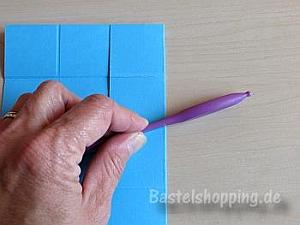
5. Use the embossing tool now to crease/burnish down each of the embossed lines you just created in the previous step. Afterwards the sides can be then perfectly folded.
|
|
|
|
|
|
|
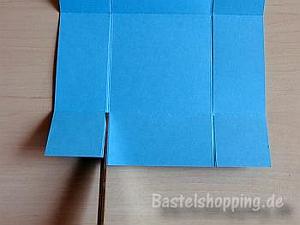
6. Place the square in front of you. Cut each of the vertical lines to the horizontal creased line. Turn the square around 180° and repeat on the other side.
|
|
|
|
|
|
|
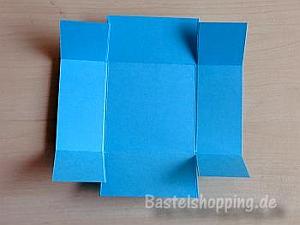
7. Now your square is ready to be folded into a box.
|
|
|
|
|
|
|
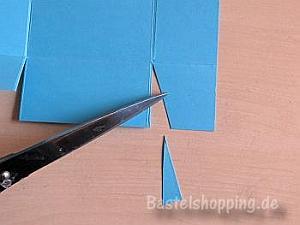
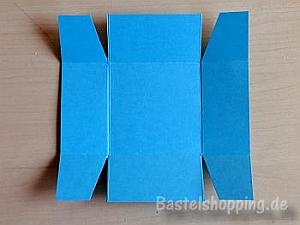
8. Before folding, cut a triangle notch at each of the cut lines from step 6. This helps the flaps to fit better when being glued to the side walls.
|
|
|
|
|
|
|
9. Now the square looks like this.
|
|
|
|
|
|
|
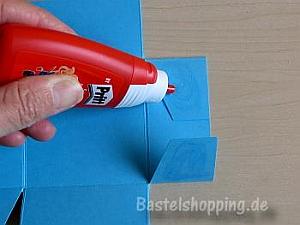
10. Fold two flaps over and apply wet glue to them. Wet glue holds the best when making boxes.
|
|
|
|
|
|
|
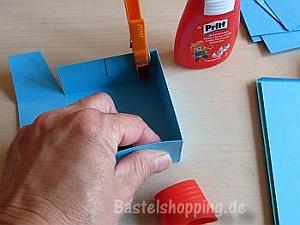
11. Turn up the flaps and glue each to the adjacent side wall. Repeat for the other side of the box so that all 4 sides are folded and glued.
|
|
|
|
|
|
|
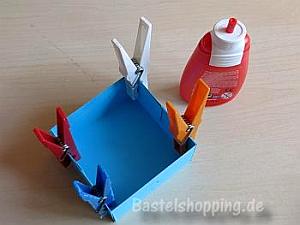
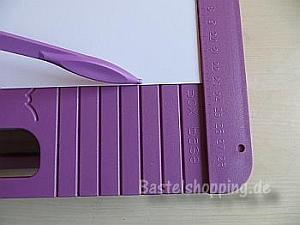
12. You can use clothes pins to hold the sides together while the glue is drying. Remove as soon as possible as the clothespins can leave dents into the walls.
|
|
|
|
|
|
|
13. Now it is time to create the base of the box. You will be doing the exact same thing as you did for the base but instead, on the “Box Base” side of the board.
Once you have finished, you will have 24 box lids and 24 box bases.
Now you can embellish the box lids.
|
|
|
|
|
|
|
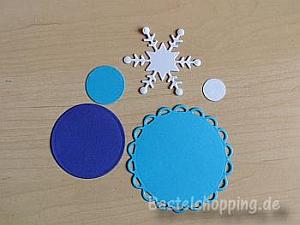
14. These are the pieces used to embellish a lid. You need a scallop, 3 different sized circles and a snowflake.
|
|
|
|
|
|
|
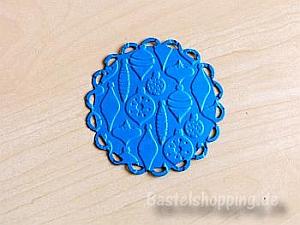
15. First emboss the scallop. Then glue the largest circle centered onto it.
|
|
|
|
|
|
|
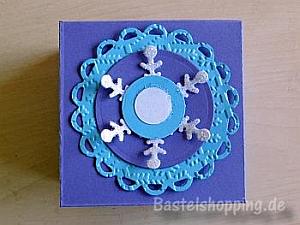
16. Then adhere the two smaller circles together. These will then ble glued onto the snowflake. Brush glue on the spokes of the snowflake and shake glitter onto it. Tap excess glitter off and then adhere the snowflake to the larger circle.
Now you will glue the whole stack onto the box lid.
Repeat for the remaining 23 boxes.
Label the numbers 1-24 on the boxes with either stickers, punched out numbers or write them with matching felt tip pens.
|
|
|
|
|
|
|
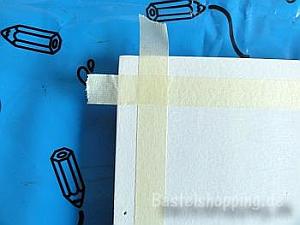
17. To adhere the boxes onto the board, mark off the board with masking tape so that there is a 3 cm distance from the outside edge.
|
|
|
|
|
|
|
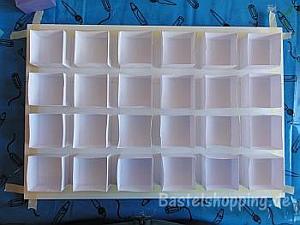
18. Then glue the box bases onto the board. The space between the boxes on the long side is about 2.25 cm wide and the distance between the boxes on the short side is about 1.75 cm wide.
Once all of the box bases are adhered to the board, you can remove the masking tape.
After the bases are dried on the board, slip on the lids and your calendar is finished.
|
|
|
|
|
|
|
|
|
|
Angebote bei Amazon:(Die folgenden Links führen Sie auf Angebote bei Amazon.de. Bei einem Kauf kann uns Amazon eine kleine Provision gutschreiben, die aber Ihren Einkauf nicht verteuert.)
|
|
|
|
|
|
|
|
|
|
|
|
|
|
|
|
|
|
|
|
|
|
|
|
|
|
|
|
|
|
|
|
|
|
|
© Bastelshopping.de
|
|
|